It might be possible, however, to evade geographic restrictions on content, or even avoid throttling by your ISP, by changing the DNS settings of your Fire Stick.
Note you do not need to do this if using a VPN, as DNS requests are sent through the VPN tunnel to be handled by your VPN provider.
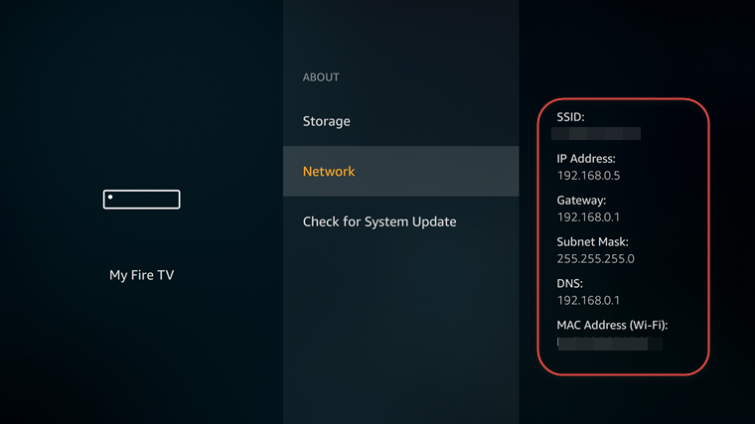
- Go to Settings -> My Fire TV -> About -> Network and make a note of all the settings there (taking a photo with your phone is an easy way to do this).
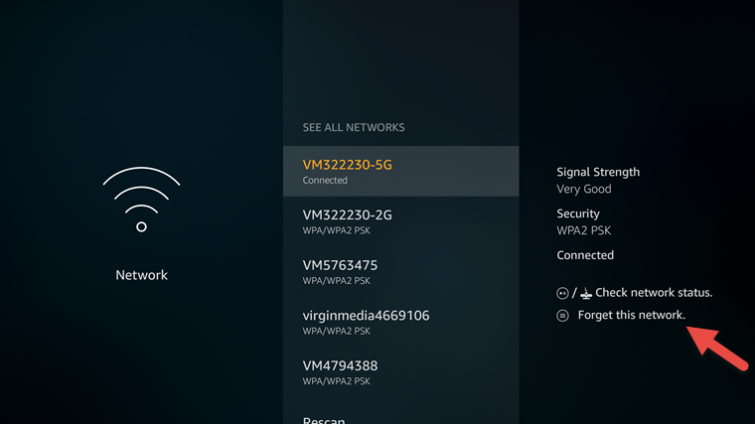
- Go to Settings -> Network and select your Wi-Fi network. Click the remote's menu button (☰) to forget this network.
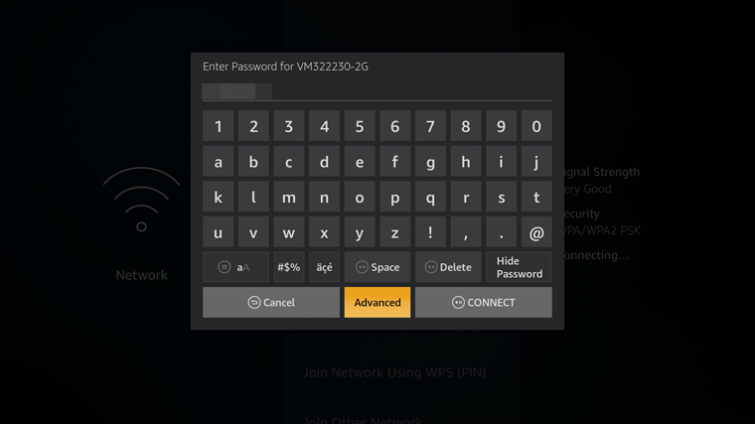
- Click on the connection again and enter your network password (SSID). Instead of clicking Connect, click Advanced.
- Enter the "IP address"...
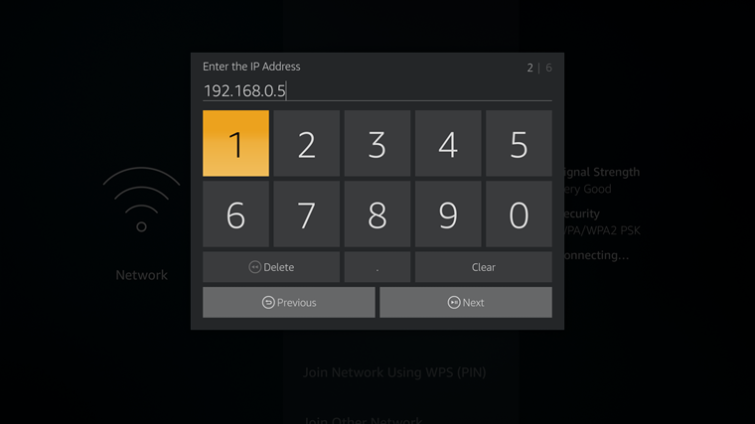
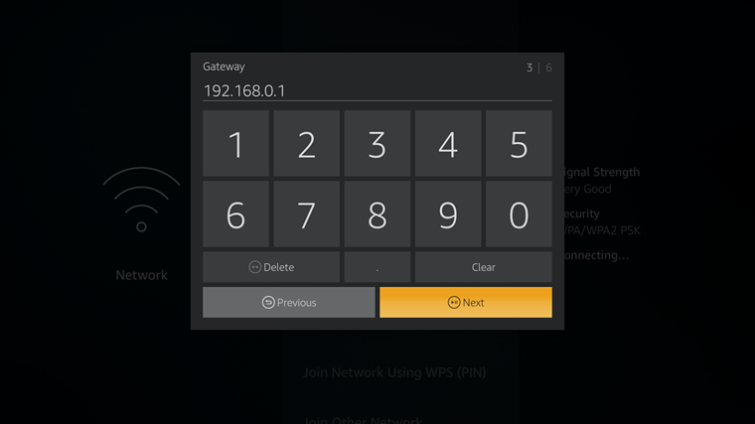
- ... and "Gateway" values you noted in step 1.
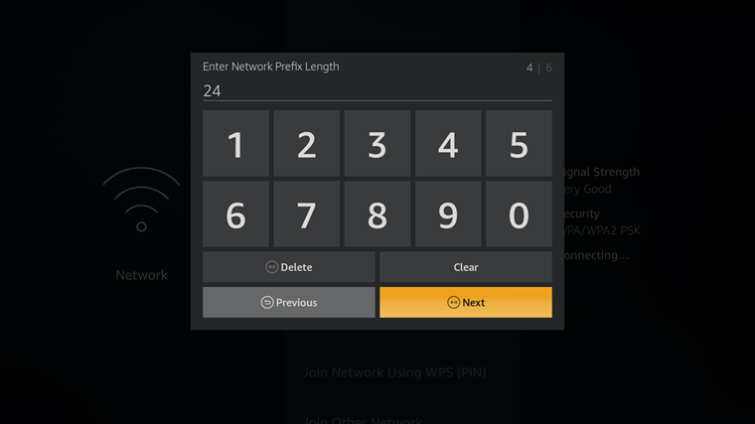
- For Subnet Mask there can be a few options: enter 24 if the Subnet Mask value you noted in Step 1 was 255.255.255.0, or 32 if the "Subnet Mask" value was 255.255.255.255. For any other Subnet Mask values, use this tool to calculate the number. The value listed after Mask Bits is the one you are looking for.
- Enter the primary (DNS 1) and secondary (DNS 2) DNS settings.
Primary: 1.1.1.1
Secondary: 1.0.0.1
Change the DNS on the Amazon Fire TV (Wired)
- Go to Settings
- Select System
- Select Network (wired)
- Select Configure Network
- Enter a valid IP from your home network. Find the IP of your router in the guides above.
- Set prefix length to 24. Press Next.
- Set the gateway to the router IP (You can find the correct gateway by following the guides above). Press Next.
- Set DNS 1 to 1.1.1.1 Press Next.
- Set DNS 2 to 1.0.0.1 Press Next.